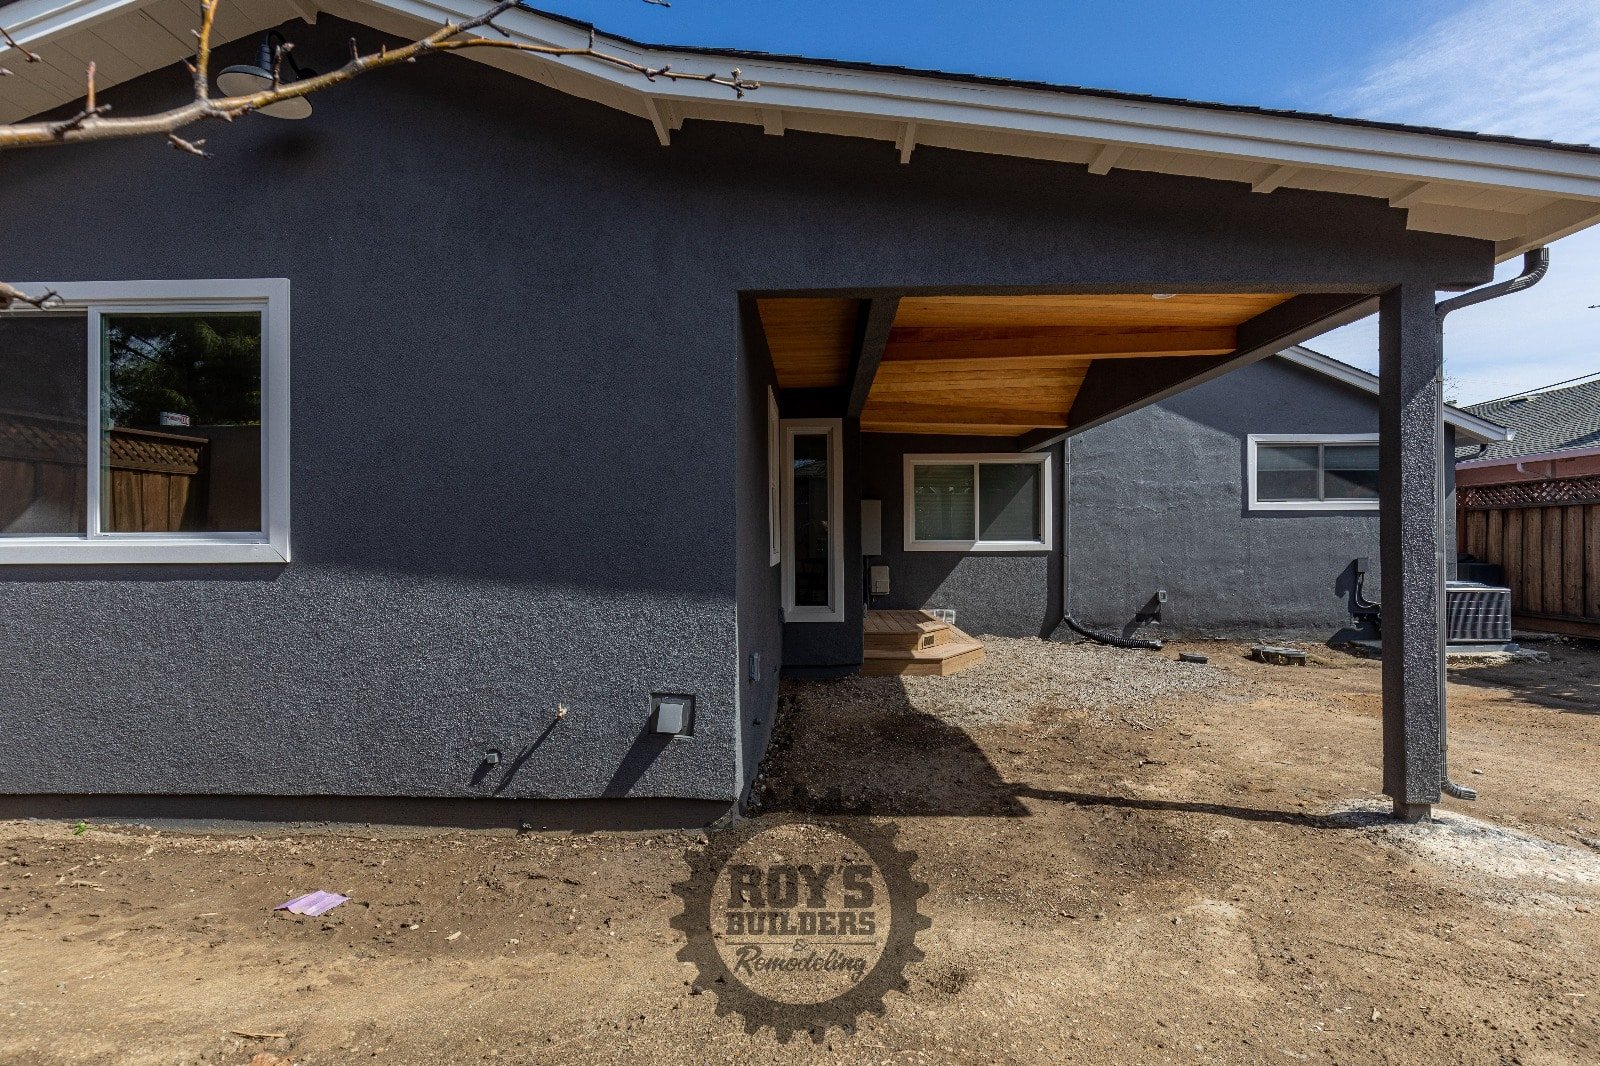
Your home is more than just a collection of rooms; it’s the center of your life. But as your family grows or your needs change, you can find yourself loving your neighborhood but feeling constrained by your house. You’re faced with a classic dilemma: move or improve? For many, a well-executed home addition is the perfect answer, allowing you to gain precious square footage, enhance your lifestyle, and significantly increase your property’s value, all without leaving the community you love.
However, the journey from a simple idea to a finished, functional space is a major undertaking. The single most important factor that determines a project’s success, budget, and timeline is planning. A comprehensive plan is the foundation upon which your entire addition is built. Rushing this phase is the number one cause of budget overruns, stressful delays, and disappointing results. This ultimate guide will walk you through the essential steps to successfully plan your home addition, ensuring a smooth process from concept to completion.
Step 1: Define Your “Why” – Needs, Goals, and Vision
Before you look at a single blueprint or interview a single contractor, you must get crystal clear on your “why.” This initial vision will be the guiding star for every decision that follows. Start by asking yourself and your family a series of probing questions:
- What is the primary purpose of this addition? Are you creating a luxurious master suite, a spacious in-law unit for multi-generational living, a functional home office, or a sprawling great room for family gatherings?
- What problems will this new space solve? Is your kitchen too cramped for cooking? Do your children need their own bedrooms? Do you lack a dedicated space for work or hobbies?
- How do you envision using this space every day? Think about flow, natural light, and how it needs to connect to the rest of your home.
- What are your future needs? Don’t just plan for today. Will this addition need to adapt as your family grows? Should you incorporate “aging-in-place” features like a main-floor bedroom, wider doorways, or a curbless shower?
Write down your answers. Create a “must-have” list and a “nice-to-have” list. This document is the first and most critical piece of your project plan, ensuring that your final space is not just bigger, but truly better for your lifestyle.
Step 2: The Reality Check – Budgeting and Financing
Now for the most intimidating part: the budget. A home addition is a significant financial investment, and having a realistic budget is non-negotiable. Without one, you risk a project that stalls midway or is plagued by “scope creep”, the slow and steady addition of new ideas that ultimately shatters your finances.
A comprehensive budget includes far more than just the construction itself. You must account for:
- Design and Architecture Fees: Costs for architects, designers, and structural engineers.
- Building Permits and Fees: These vary widely by municipality and can be substantial.
- Construction Costs: This is the main build, including labor, materials, foundation, framing, roofing, etc.
- Finishes and Fixtures: This is a major variable. High-end cabinets, custom tile, and premium appliances will cost significantly more than standard options.
- Landscaping: An addition often impacts your yard, requiring new landscaping.
- Contingency Fund: This is arguably the most important line item. Set aside at least 15-20% of your total budget for the unexpected. During demolition, you might find hidden structural issues, outdated wiring, or plumbing that needs to be brought up to code. A contingency fund turns these surprises from a crisis into a manageable hiccup.
Once you have a rough budget, explore your financing options. The most common methods include:
- Home Equity Line of Credit (HELOC): A revolving line of credit you can draw from as needed, ideal for paying contractors in phases.
- Home Equity Loan (HEL): A lump-sum loan with a fixed interest rate, which provides a predictable monthly payment.
- Cash-Out Refinance: You take out a new, larger mortgage on your home, paying off your old one and keeping the “cash out” difference for the renovation.
- Construction Loan: A short-term loan specifically designed to fund the building process, which is often rolled into a traditional mortgage upon completion.
Step 3: Navigating the Red Tape – Zoning, Permits, and Regulations
This is the step where many ambitious DIY plans come to a screeching halt. Every city and county has a complex web of rules designed to ensure safety, uniformity, and responsible development. You cannot simply build whatever you want, wherever you want.
Key regulations to investigate include:
- Zoning Laws: These dictate what can be built in your neighborhood, including restrictions on height, total lot coverage, and what type of additions are allowed (e.g., some areas restrict second-story additions).
- Setbacks: These are rules that define how far your home (and the new addition) must be from your property lines, the front, back, and sides.
- Building Codes: These are the technical safety standards for all construction, covering everything from the depth of your foundation and the structural integrity of your framing to the proper installation of electrical and plumbing systems.
- Homeowners’ Association (HOA) Rules: If you live in an HOA, you will have an entirely separate set of aesthetic guidelines to follow, which may govern everything from exterior paint color to window styles.
Navigating this bureaucratic maze is complex and time-consuming. This is one of the first and best reasons to bring in a professional. An experienced local builder or design-build firm will have deep knowledge of local codes and an existing relationship with the permitting office, saving you countless headaches.
Step 4: Assembling Your Dream Team
Unless you are a licensed professional, a home addition is not a DIY project. You will need a team of experts to bring your vision to life safely and legally. You generally have two paths:
- The Traditional Route (Architect + General Contractor): You first hire an architect or designer to create a full set of plans. Then, you put those plans out to bid with several general contractors (GCs). This can sometimes be cost-effective but puts you, the homeowner, in the middle, responsible for managing two separate entities and resolving any conflicts that arise between the design and the build.
- The Design-Build Firm: This is a more modern, streamlined approach where one company handles everything, from the initial consultation and design to permitting and final construction. The architects, designers, and construction managers are all part of the same team, working in collaboration from day one. This single-source responsibility aligns the budget with the design from the very beginning, simplifies communication, and creates a far more seamless and accountable process for the homeowner.
When vetting potential partners, always check for their license and insurance, review their portfolio of projects similar to yours, and ask for client references. Choose the team you feel communicates most clearly and transparently.
Step 5: The Blueprint – Design and Detailed Planning
With your team in place, the design phase begins in earnest. This is where your “why” from Step 1 is translated into a technical “how.” This phase goes far beyond just a simple floor plan. A complete, construction-ready plan includes:
- Detailed Architectural Drawings: The official blueprints showing dimensions, layouts, and elevations.
- Structural Engineering: Calculations and plans to ensure the new structure is sound and properly integrated with your existing home.
- Material and Finish Selections: This is a critical step for an accurate budget. You will decide on everything: flooring, windows, doors, lighting fixtures, plumbing fixtures, tile, countertops, cabinetry, and exterior siding. Making these decisions before construction begins prevents costly delays and last-minute changes.
- Flow and Integration: A good design ensures the addition doesn’t feel “tacked on.” It should flow naturally from the existing home, with seamless transitions in hallways, flooring, and rooflines.
This detailed planning phase, often supported by 3D design software, is the single best way to ensure your project stays on time and on budget.
Step 6: The Journey – What to Expect During Construction
Once the permits are approved and the plans are finalized, construction begins. It’s important to be realistic: this process will be disruptive. There will be noise, dust, and a portion of your home will be a work zone.
The general construction sequence includes:
- Site Preparation: Protecting the rest of your home and preparing the build site.
- Foundation: Pouring the new foundation or slab.
- Framing: Building the “skeleton” of the addition, the walls, floors, and roof.
- Rough-Ins: Installing the “guts” hidden in the walls, plumbing, electrical wiring, and HVAC ductwork.
- Closing Up: Installing insulation, drywall, windows, and exterior finishes.
- Finishes: The final stage where the vision comes to life with painting, flooring, cabinet installation, and fixture hookups. Common additions include new kitchens or bathrooms.
- Final Inspections: The city inspector will sign off on the completed work.
Throughout this process, a good build team will provide you with regular updates and a clear point of contact for all your questions. Transparent communication is key to managing the stress of construction.
A home addition, whether it’s a dedicated room addition or an outdoor patio construction, is a marathon, not a sprint. But it is an incredibly rewarding one. By investing your time and effort in meticulous planning, from defining your vision and setting a realistic budget to hiring the right professional team, you are setting your project up for success. A well-planned addition will not only transform your home but will also enrich your life for years to come.
Ready to take the first step toward your dream space?
Planning a home addition can feel overwhelming, but you don’t have to do it alone. Contact Roy’s Builders today for a consultation. Our seamless, transparent design-build process, from initial vision to final completion, ensures your project is a stress-free success, creating the beautiful, functional home you’ve always wanted.